The Course
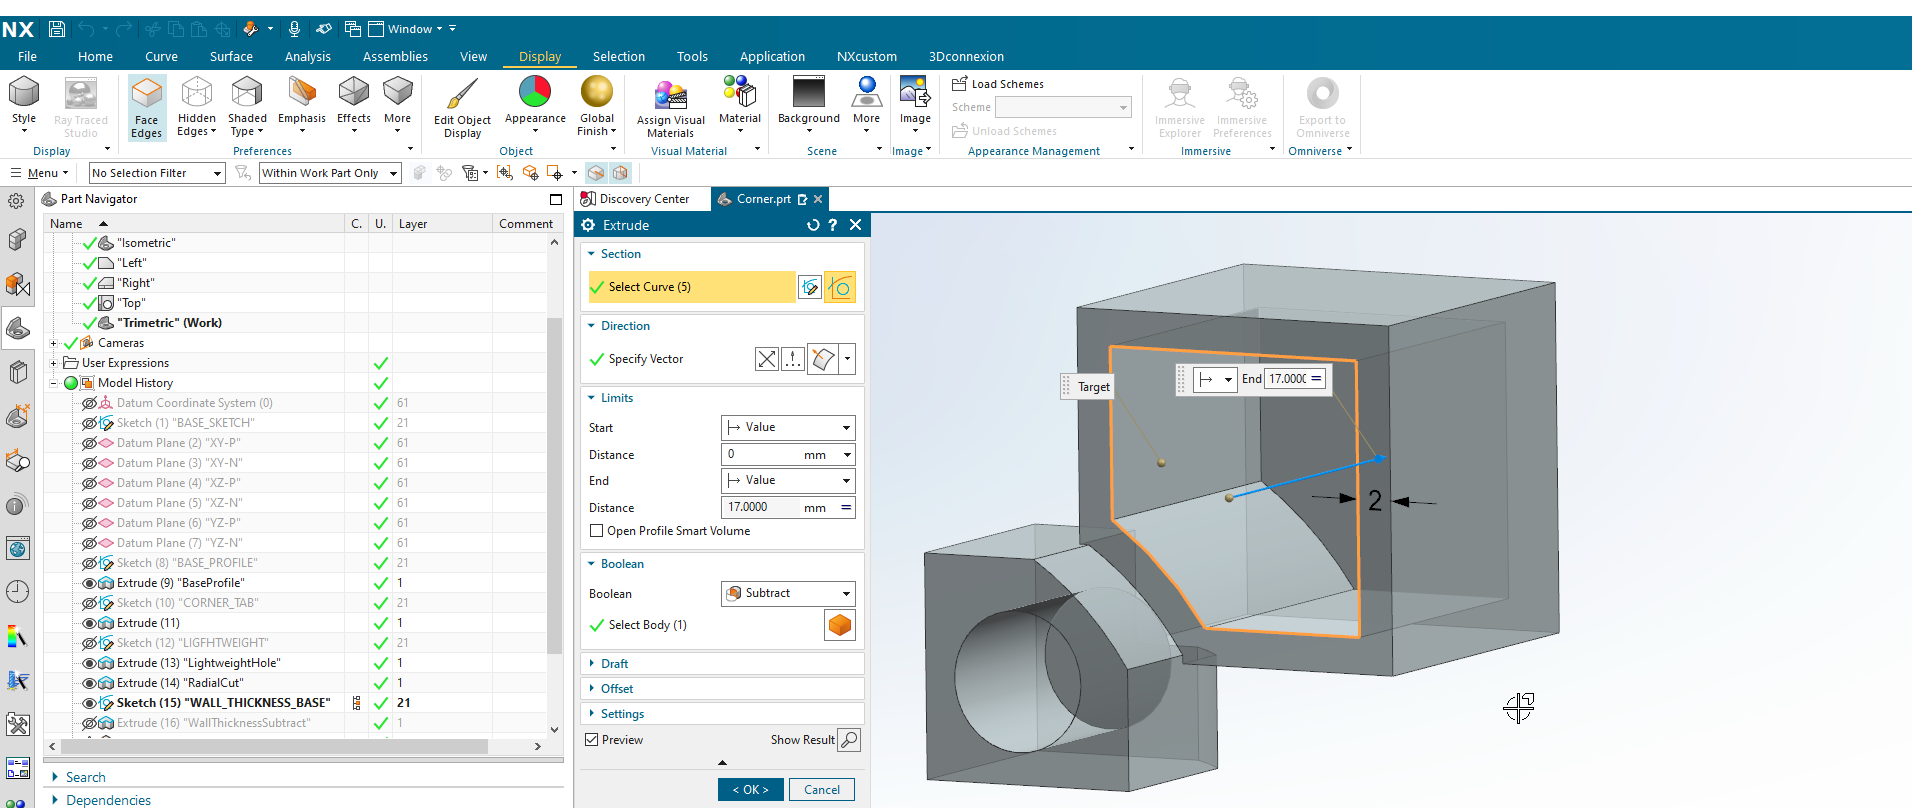
NX is a powerful and flexible CAD software package. There are typically several different methods to accomplish the same desired design result. Many NX classes focus on explaining all the different methods which can wind up confusing students and can make the material feel overwhelming.
Our streamlined training program incorporates short, targeted videos and concise instruction, allowing students to quickly grasp the key functions of Siemens NX. With over 150 bite-sized videos focusing on specific functions and features, students can learn the basic skills needed to be proficient in utilizing Siemens NX in less than half the time of conventional classes.
This allows students to come up to speed quickly without sacrificing the quality of the training and will provide the foundation needed to explore other Siemens modeling methodologies as they progress in their career.
Curriculum
- 01 - Start a New Part and Create Common Part Expressions (1:32)
- 02 - Create Your First Sketch (1:57)
- 03 - Create Reference Geometry: Datum Planes (2:42)
- 04 - Name Features in the Part Navigator (1:09)
- 05 - Part Organization: Layer Management (0:41)
- 06 - Create Additional Expressions (0:38)
- 07 - Modify the Base Sketch (0:42)
- 01 - Perform a Save As on the Template Part (0:24)
- 02 - Create a Sketch: Corner Base Sketch (2:13)
- 03 - Extrude Feature: Base Cubelet (0:29)
- 04 - Create a Sketch: Corner Tab Sketch (1:46)
- 05 - Extrude w/Join: Corner Tab (0:48)
- 06 - Create Sketch: Corner Tab Lightweight and Round (2:36)
- 07 - Modify Sketch: Corner Tab Sketch (1:20)
- 08 - Extrude w/Subtract: Corner Tab Lightweight Pocket and Radius Cut (1:53)
- 09 - Add Sketch: Base Cubelet Wall Thickness (1:20)
- 10 - Extrude w/Subtract: Remove Material to Establish Wall Thickness (0:37)
- 11 - Edge Blend: Tab Edges (1:38)
- 12 - Edge Blend: Cubelet Edges (1:14)
- 13 - Part Cleanup and Best Practices (2:07)
- 14 - Create Mating Geometry (0:37)
- 15 - Create Reference Sets and Set Visible Geometry (1:36)
- 01 - Save As Template (0:35)
- 02 - Profile Sketch and Extrude (1:45)
- 03 - Modify Profile Sketch (0:55)
- 04 - Modify Edge Extrude (0:51)
- 05 - Sketch Tab (1:54)
- 06 - Inner Tab Sketch (1:10)
- 07 - Complete Inner Tab (1:12)
- 08 - Inner Tab Extrude (1:37)
- 09 - Clearance Cut on Base Solid (0:35)
- 10 - Shell, Subtract, Shell, Unite (1:22)
- 11 - Edge Blends (3:42)
- 12 - Clean Up (2:36)
- 01 - Save As Template Part and Base Sketch (1:17)
- 02 - Move To Layer - Datum Planes (0:40)
- 03 - Extrude Base Profile (0:27)
- 04 - Create Trimming Solid Cylinder (0:34)
- 05 - Pattern Trimming Solid Cylinder (0:25)
- 06 - Subtract - Use Trimming Solids to Subtract from Base Extrude (0:32)
- 07 - Part Cleanup (1:11)
- 01 - Save As Template (0:17)
- 02 - Create Trim Surface (0:47)
- 03 - Sketch - Center Boss (1:12)
- 04 - Revolve - Center Boss (0:29)
- 05 - Blends - Body Bottom Edges (0:40)
- 06 - Trim Bodies - Main Body and Boss (0:26)
- 07 - Shell - Main Body and Hide Trimming Surface (0:36)
- 08 - Blends - Main Body (0:55)
- 09 - Unite - Main Body to Boss (0:15)
- 10 - Datum Plane - Create Datum Plane for Hole Locating (0:17)
- 11 - Hole - Create Counterbored hole. Revise hole to add lead in chamfer. (1:26)
- 12 - Blend - Boss to Main Body (0:26)
- 13 - Clean Up (0:25)
- 01 - Modify Base Sketch and Extrude First Cylinder (1:40)
- 02 - Move to Layer - Datum Planes (0:23)
- 03 - Create Sketch for Revolve (1:06)
- 04 - Create Revolve Feature and Pattern Geometry (1:06)
- 05 - Hole Feature (0:35)
- 06 - Pattern Feature - Fail (0:38)
- 07 - Unite and Pattern Feature (0:47)
- 08 - Pattern Feature - Fifth Hole (0:23)
- 09 - Reflect Feature (0:28)
- 10 - Clean Up (0:58)
- 01 - Create Parent Part (0:32)
- 02 - Create Reference Sets - Core (0:37)
- 03 - Create Reference Sets - Insert (0:38)
- 04 - Add Component - Core (0:24)
- 05 - Add Constraints - Core (0:36)
- 06 - Add Component and Constrain - Insert (0:35)
- 07 - Pattern Components - Insert (0:57)
- 08 - Pattern Remaining Inserts (0:38)
- 09 - Wave Geometry Linker - WaveLink Core and Inserts (1:02)
- 10 - Subtract - Inserts from Core (0:35)
- 11 - Hide Wavelink Bodies (0:42)
- 12 - Create Reference Set (0:54)
- 13 - Orient and Save (0:21)
- 14 - Hide Constraints (1:00)
- 01 - Create Expressions (1:46)
- 02 - Sketch Profile (0:36)
- 03 - Add Dimensions to Sketch (1:48)
- 04 - Modify and Correct Some Expressions (2:30)
- 05 - Revolve Profile (0:21)
- 06 - Hex Key Lead In Sketch, Extrude-Subtract-Chamfer (1:13)
- 07 - Add Hexagon to Lead In Sketch (0:29)
- 08 - Extrude-Subtract Hex Key - Curve Rules (0:57)
- 09 - Rename Features (1:12)
- 10 - Layer Cleanup (0:38)
- 11 - Create Reference Sets (0:29)
- 01 - Add First Component (1:33)
- 02 - Add Center (1:19)
- 03 - Add Spring (1:38)
- 04 - Add Shoulder Screw (1:23)
- 05 - Add Center Cap (1:05)
- 06 - Add Remaining Center Components (3:00)
- 07 - Add Remaining Springs (3:41)
- 08 - Add Remaining Shoulder Screws (3:33)
- 09 - Add Remaining Center Caps (1:54)
- 10 - Clean Up (1:19)

Your instructor
Scott Painter has over 28 years of industry experience spanning multiple industries. He focused on product design in the beginning of his career with Callaway Golf, Ford, Motorola, and ATK Aerospace. For the past 10 years, he has focused on Application Support and Configuration while working on projects for SpaceX, Boeing, Navistar and Moog Aerospace before joining the Applied CAx team.
Comprehensive
A Thorough Introduction to NX Fundamentals
Practical
Hands-On Learning with Real-World NX Applications
Streamlined
Efficient Mastery of NX Basics for Quick Learning
